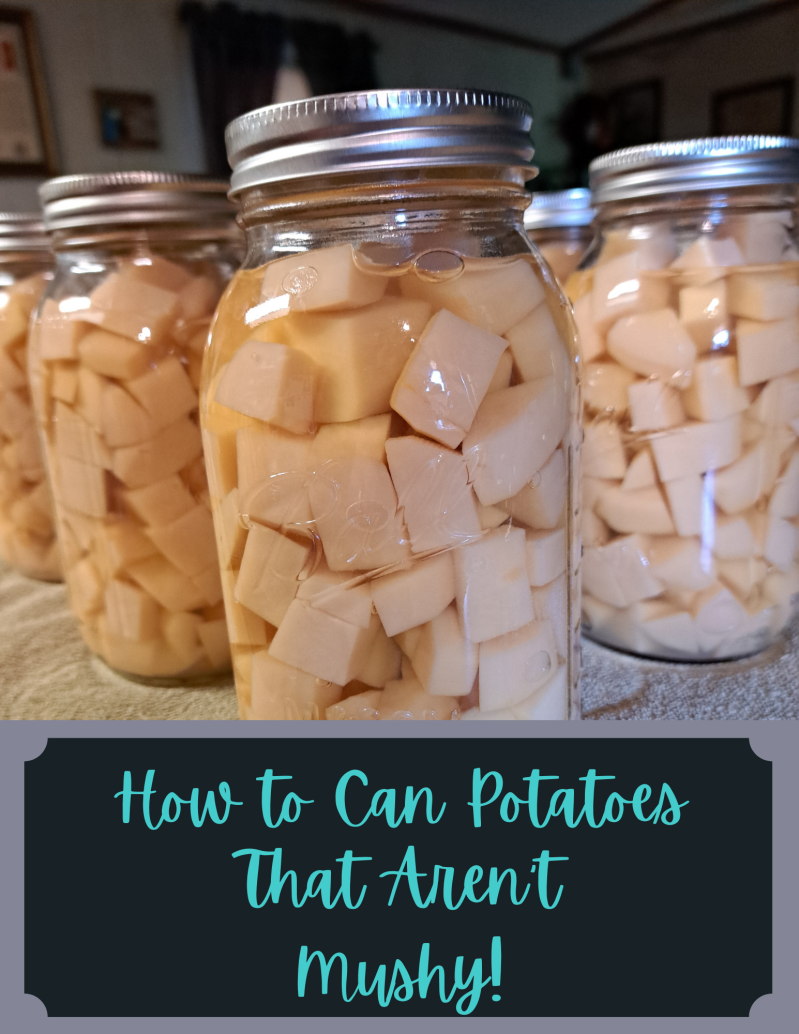
Many people who think about canning potatoes, imagine a super soft and mushy end product that isn't good for much of anything besides mashing. Nothing could be further from the truth!
Properly canned potatoes should retain their shape enough to prepare them any way you wish! I find that canning potatoes in a dice works great for making fried potatoes, mashed potatoes, or a potato salad! You could also peel baby potatoes and can them whole for a potato you can include with a potroast! Canning potates preserves them for future use without the risk of them sprouting or going bad. With some imagination, you can prepare your canned potatoes in any number of ways!

Let's dive into the proper way to can potatoes!
Materials needed:
- 10-15 lbs. of potatoes (I use Russet potatoes)
- Knife
- Vegetable Peeler
- Large bowl for soaking potatoes
- Large pot for blanching potatoes
- Large pot or kettle for filling jars with fresh water
- 7 quarts or 14 pints (approximately)
- Salt
- Water (used for blanching potatoes, and fresh water for filling jars with potatoes)
- Jars with lids and rings
- Ladle
- Pressure Canner
- Jar Lifters
- Clean Towels
- "Spider" strainer
The Process:
Begin by thoroughly scrubbing the potatoes to remove as much dirt and debris from the skins as possible.
Peel the potatoes, making sure all dark spots are removed. Rinse potatoes after peeling.

I like to cut my potatoes into a 1' dice.

Make sure the water covers the potatoes for soaking.
If potatoes are small (2 inches in diameter or smaller) they can be canned whole. Larger potatoes need to be cut down. They can be sliced, diced, or chunked into pieces less than 2 inches. Keep the cut potatoes in a bowl of water to prevent browning of the potatoes while preparing them.
Allow the potatoes to soak in the water while you prepare your work space for the next step.
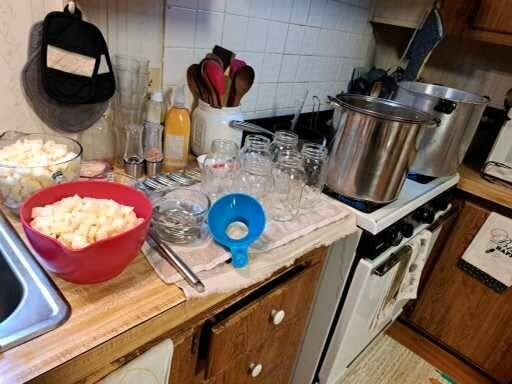
Wash all of your jars and lids you will be using, and place them on a clean, dry towel on the counter. Make sure you have your funnel, bubble popper, ladle, strainer, salt (if using) and lids all handy for easy jarring.

Make sure all of your tools needed are handy.
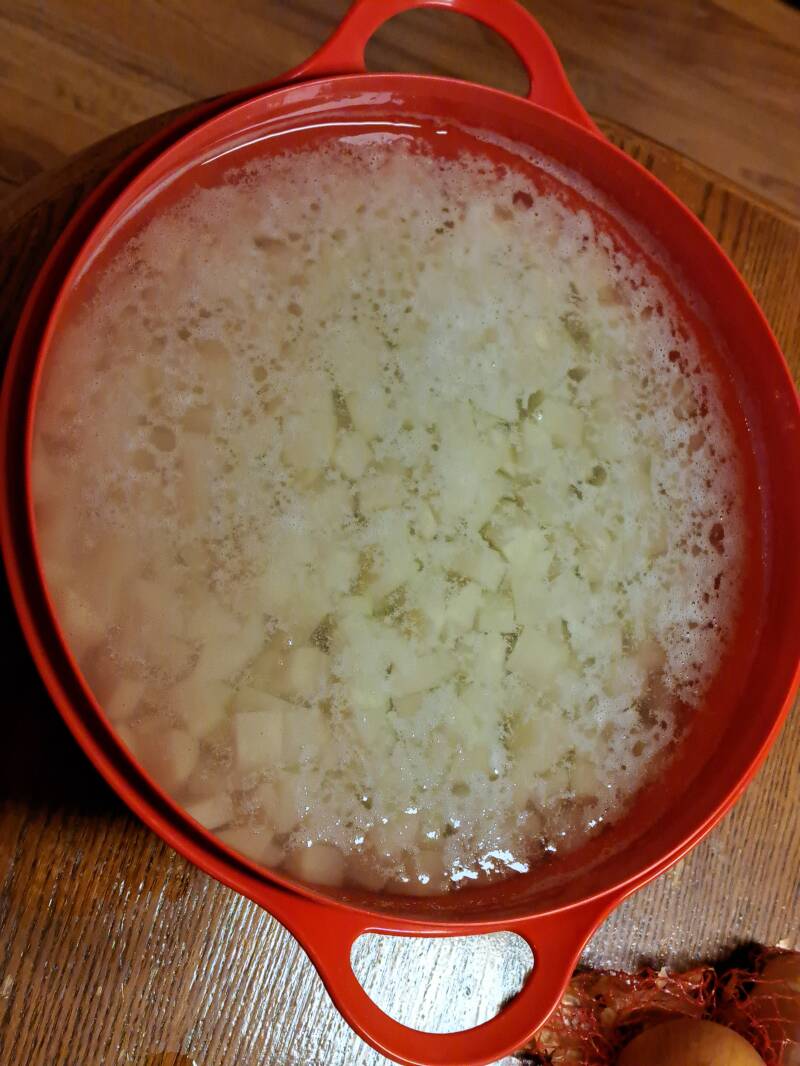
Put the potatoes in a large pot and cover with water. Bring to a boil.
At the same time, start a pot or kettle of fresh water for filling the jars to cover the potatoes. The cooking liquid will have too much starch left in it.
Also, prepare your canner with the recommended amount of water and begin heating the canner once your potatoes begin to boil. You want the water steaming, not boiling, so turn the heat off once it is hot enough.
Potatoes that are 1/2 - 1 inch dice, boil for 2 minutes.
Potatoes that are whole or chunked 1-2 inches, boil for 10 minutes.

Using a "spider" strainer makes this step easier.

Add salt to the top of the potatoes.
Using a strainer, fill hot jars with the hot potatoes. Leave 1 inch headspace. Add salt if desired, 1/2 teaspoon for each pint, or 1 teaspoon for each quart.
Carefully ladle the hot fresh water over the potatoes and leave 1 inch headspace. Remove any air bubbles, wipe the rims of the jars and place lids and rings on the jars.
You can see in the next photo, I actually use my electric kettle for heating the fresh water to use over the potatoes. This frees up space on my stove, and makes filling the jars much quicker.

Remove as many bubbles as possible.
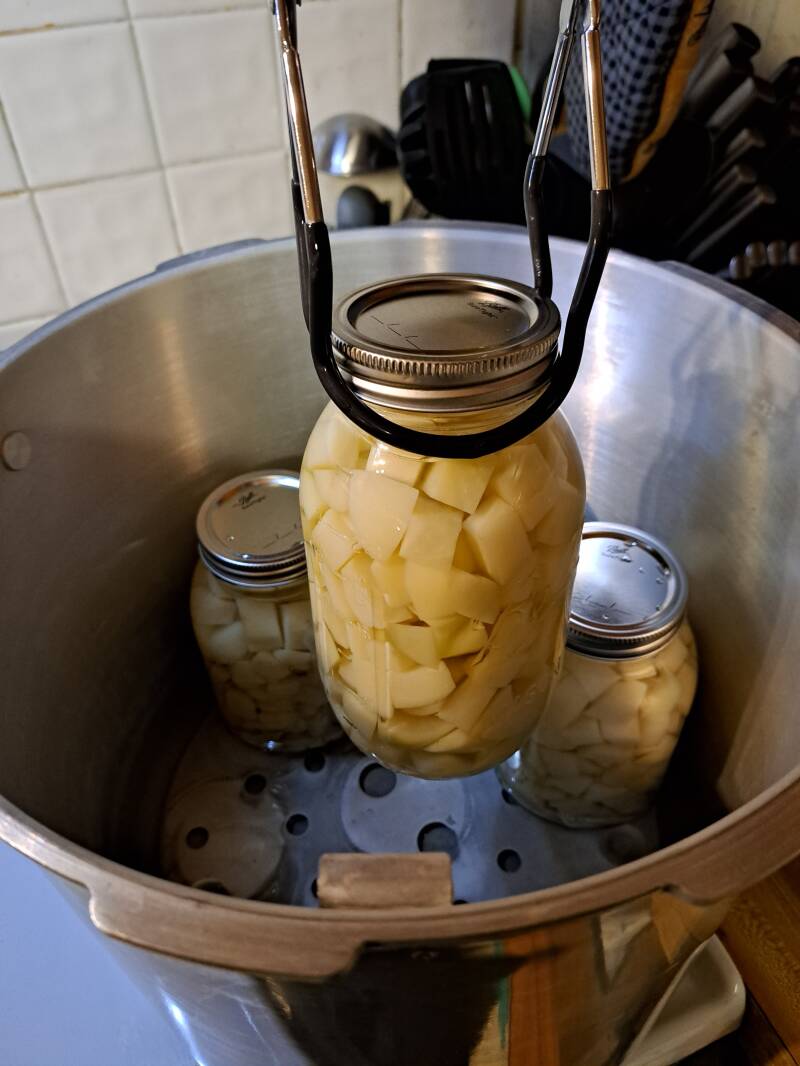
Once your jars are filled, the rims wiped, and the lids are on, carefully place them in the canner. They will be hot, so use the jar lifters so you don't burn your fingers!
Follow your canner's manufacturer's instructions for sealing the lid to the canner.
Slowly bring the heat up, and allow canner to vent for 10 minutes before placing the weight on the vent pipe.
Once the canner has reached pressure (see chart below) begin timing.


After time is up for processing, turn off the heat. Allow the canner to rest and release the pressure naturally. Once the pressure is at zero and the lid lock has released, carefully remove the weight from the vent pipe and allow canner to rest for another 10 minutes.
After the canner has rested, carefully open the canner. I like to let the canner "breathe" for a few minutes before removing the jars.

You may notice bubbles in the jar, or a "boiling" look after removing them from the canner, this is normal.
You may also notice the liquid level is slightly lower than when they went in. The potatoes do seem to absorb more of the liquid during processing, although sometimes some siphoning may happen. As long as original headspace was 1 inch and there is still at least 50% of original liquid left in the jars, they will be just fine.
Carefully remove the jars, using the jar lifters, and place them on a towel covered counter.
Allow the jars to rest for 12 hours. Avoid the temptation to touch the lids! Any lids that have not sealed on their own after 12 hours need to be placed in the refrigerator for use. All jars that have sealed, allow them to rest for another 12 hours. This resting time allows the sealant to set the best. NOTE: If a lid is touched and seals, or if it seals after being in the refrigerator for a while, it is NOT properly sealed. The lids MUST seal on their own for a safe seal.
After the full 24 hours, remove the rings from the jars, give them all a good washing and store them in a cool dry place.
After a week or so, you may notice your potatoes look a bit cloudy, perhaps around the bottom of the jar. That is normal. It is simply the starches from the potatoes settling in the water. The cooking water from blanching the potatoes took a lot of starch out, but there will always be more left in, and it tends to make the water cloudy.
Congratulations! You have canned potatoes!
Add comment
Comments
Can u use water bath canner,if u don't use pressure canner,and how long in a water bath .tku